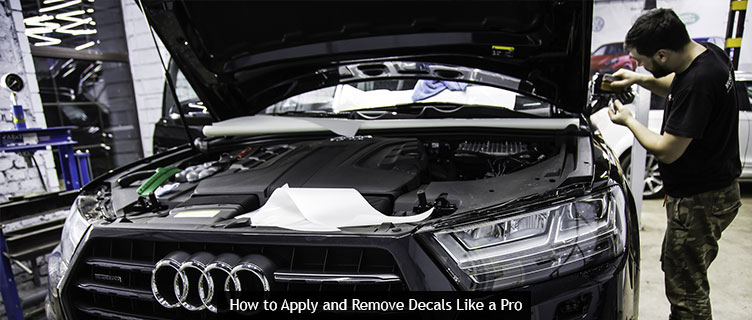
Signworld business partners offer a wide selection of custom decals. Today’s post is all about helping clients install and remove them like Signworld pros.
Read on to learn beginner guidelines for vinyl decal application and removal, courtesy of the Signworld business alliance.
Apply Decals Like A Signworld Pro: Beginner Guidelines
Decals are designed for easy application.
In short, applying the decal involves cleaning the application surface, peeling away the decal backing, applying the application solution (if needed), positioning the decal as desired, pressing firmly, then using a squeegee to remove any air bubbles.
However, decal applications can be tricky, especially when you overlook the basics. And the process varies considerably depending on whether you’re using a wet or dry install.
But regardless of the decal you’re working with, you should follow these guidelines for best results:
- Install only in proper temperatures. For best results, install your decal in temperatures above 50°F (10°C) and below 90°F (32°C).
- Clean thoroughly. Both the decal and the substrate must be clean of any grit, grease, dust or residue that could interfere with the application process.
- Start small. Trying to apply the entire decal in one go is a recipe for disaster (and, more specifically, big air bubbles). Instead, start with one side or corner of the decal and work your way across from there. This will allow you to smooth bubbles out as you go.
- Don’t stress over tiny bubbles. It is normal to see some small air bubbles following installation, even with sublime squeegee skills. Most of these tiny air pockets will work their way out on their own after 24 hours. Resist the urge to try to squeegee out every last bubble, as the rigorous back-and-forth pressure may cause unwanted creases or wrinkles
- Don’t forget to ‘buffer’ your squeegee. Once you remove the backing, place it as a liner between the squeegee and decal to avoid leaving any scratch marks behind.
- Plan your attack. Resist the urge to eyeball your decal installation. Instead, use a dry erase marker or masking tape to mark the corners before you start the application. If you start from one corner or side as recommended above, you’ll be able to remove the tape as you go.
Remove Decals Like A Signworld Pro: Beginner Guidelines
Unless you went for a permanent graphic, decals are pretty easy to remove.
Signworld partners recommend the following process:
- First, try to peel or scrape the decal away using your fingers or a plastic credit card. Apply slight-but-steady pressure in a back-and-forth motion. Avoid using a knife, razor, or other sharp edge, as it could damage the substrate. With a little elbow grease, many decals will peel away in one piece. If so, skip to step 3.
- If you can’t peel or scrape away the decal manually without leaving tons of residue and vinyl pieces behind, consider applying heat. Simply use a blow dryer to warm the decal up and loosen the adhesive. You can also use hot water, assuming the decal and substrate are water-resistant and far away from any electrical outlets. Refrain from using heat guns or open flames, as these can damage the substrate. Once adequate heat has been applied, return to step 1.
- Once the decal itself has been removed, you need to address any leftover residue. Don’t panic if you see some bits of adhesive clinging to the wall–this is normal and easy to fix. Most will simply wipe away with a damp, soapy cloth. Others may require the use of a special removal agent, such as rubbing alcohol. Ask your Signworld partner about recommended products and user tips.
- Once the residue is dealt with, the final step is to clean the surface with a damp cloth.
Find A Signworld Partner Near You
Visit https://signworld.org to find a member of the Signworld business alliance near you, and browse more signage installation tips for free.


